How do I…
- Make my photos stand out with framing effects.
- Cut someone from a photo and stick them into another.
- Design a quirky poster
- Do some quick-and-easy video editing, and add a title.
…using free tools?
It’s easy.
How To Be Creative With Your Photos and Videos
I did a webinar on how to do all of these, easily, and for free.
What? Did you miss it?
Never mind…
Here’s the video of that webinar (with all the greetings and unnecessary stuff edited out – so it’s pure content).
But if you prefer to read instead, scroll on…
The Webinar
- Making a frame around your pictures.
- Designing a poster.
- Removing the background from a picture of you, and putting you onto a different background.
- Simple editing and titling of your videos.
Framing Your Pictures
We kicked off the webinar by using Canva.
What’s Canva?
Canva is an amazing, online, easy-to-use, creative tool for enhancing your photographs and creating visuals such as posters.
So let’s look at how you can use Canva to enhance your photographs with a framing effect.
Framing Your Pictures in Canva
I made the above picture entirely in the free version of Canva.
Not bad, eh?
Now let’s look at a photograph that I took on holiday.
This one…

And let’s apply a bit of creativity in Canva…
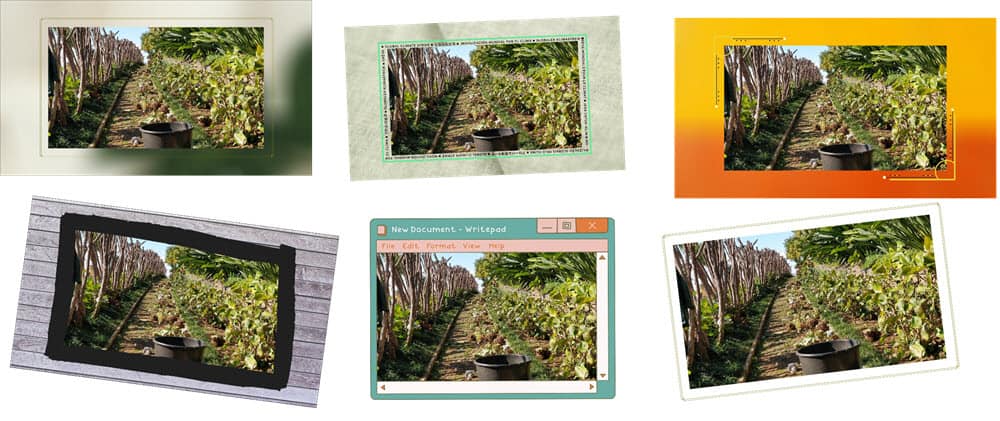
I used Canva to create various frame effects
We did a virtual straw poll and I seem to remember this one won…

This frame won
How Do You Make Frames in Canva?
So how can we make those, David?
First of all, head over to Canva and create an account.
It’s free. There are some premium elements that you can buy, but there’s no need to.
Then click Create a design.
Either choose one of their suggested templates or create your own using Custom dimensions.
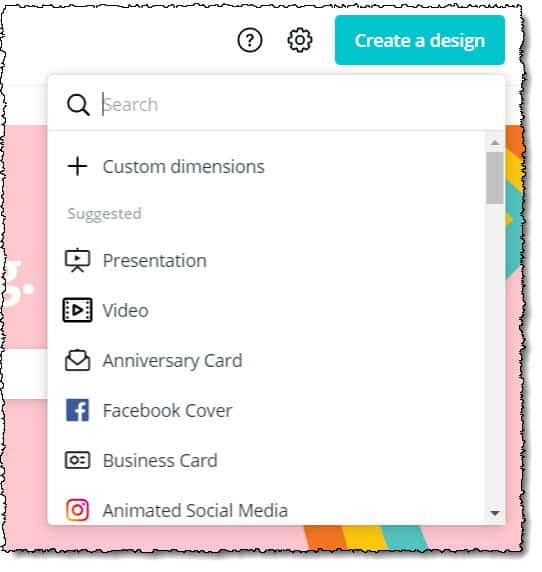
Create a design in Canva
To upload your photograph, click on the Uploads icon.
Then drag your photograph with the mouse onto Canva.
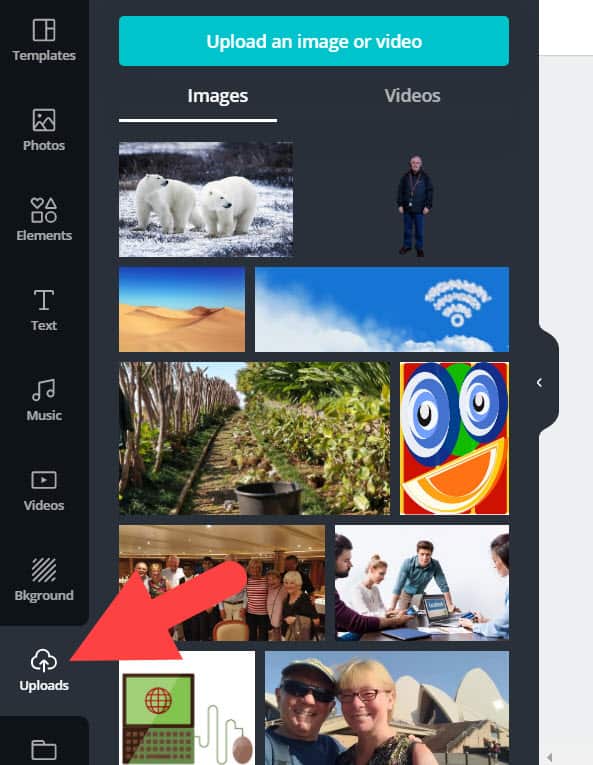
Click the Uploads icon and then drag your photos in
As soon as it’s uploaded, click on your photo’s image in Canva, and it will appear in your workspace.
Easy, isn’t it?
How to Place the Frame Around Your Photo
To put a frame onto your photo, click the Elements icon and search for ‘frame’.
Choose a frame, click on it, and that frame will automatically be applied to your photograph.
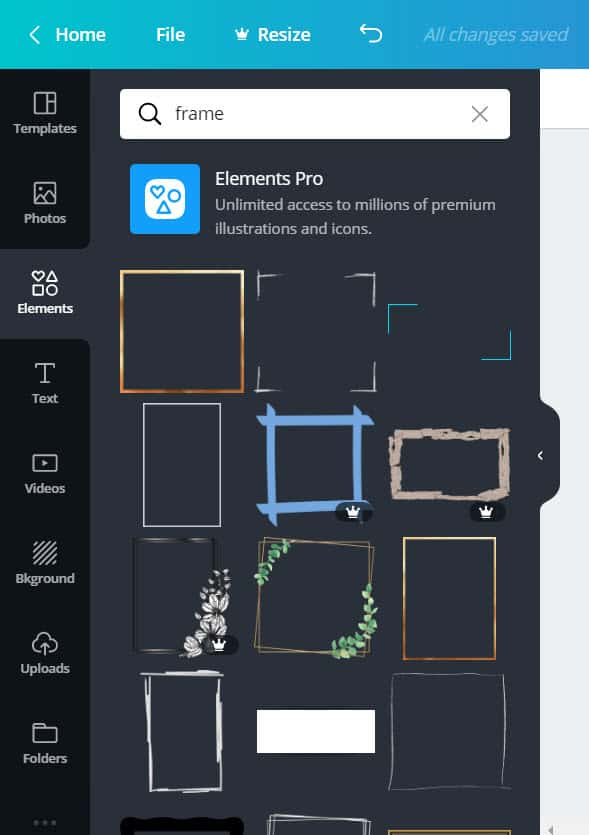
Search for ‘frame’ and select one
Then all you need to do is manipulate the frame by dragging it, or by pulling corners with your mouse, so that it fits perfectly.
When you’re happy with how it looks, press Download.
You’ll need to select a format to download it in. I’d suggest JPG.
Canva will download the framed picture to your computer.
And then you’ll be free to share it with all your friends on Social Media.
Pop it back into Canva and make a greetings card from it.
Your Aunt Polly would love that picture on her Christmas card.
Create a Poster in Canva
Next, in the webinar, we made a poster, using one of Canva’s templates.
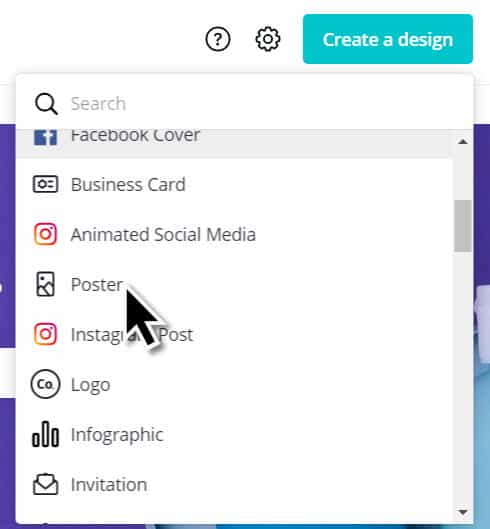
Make a poster in Canva
To do that, press the Create a design button again.
And this time choose Poster.
Scroll down until you find a suitable design, and click on it.
Just like this one…
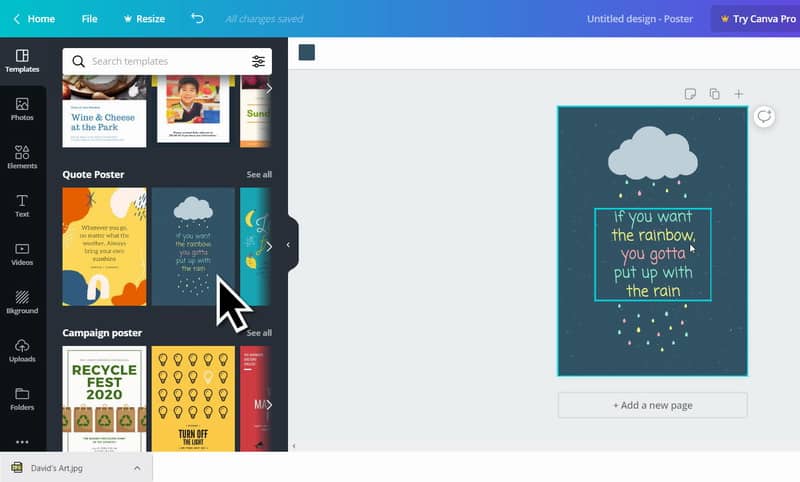
Choose a poster template and modify it
You can modify the various elements within the poster by clicking on them, then changing the text or image.
That’s what I did with this text
And here’s the finished artistic result…
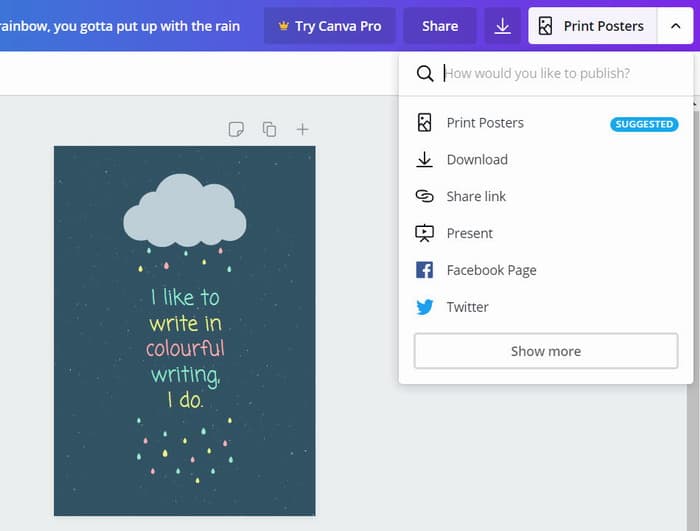
Modify your poster in Canva
When you’re happy, click Download or Print.
How to Remove the Background on a Photo
Here’s a photograph of yours truly posing by this damp cell at the notorious Alcatraz Prison.
But I prefer to be in a nice warm place.

David at Alcatraz Prison
So this happened…

David in the desert
How on earth did you move from Alcatraz Prison into the desert, David?
And why aren’t those polar bears eating you?

Keeping safe from the polar bears
Remove The Background
To do that, I used a free online tool called Remove.BG.
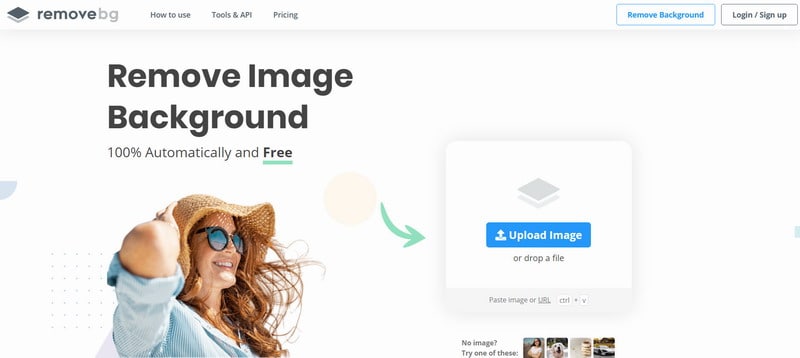
Use RemoveBG to remove the background from a photograph
Drag your photograph into RemoveBG and it will automatically remove the background.
Then click the Download button to save the new image to your computer.
Just like this in this video clip (don’t worry, it’s silent)…
Finding a New Background For Your Photo
“That’s great… but how did you create the new picture, David?” I hear you ask.
First of all, I found a desert background.
One of the largest free image and royalty-free stock libraries is Pixabay.

Pixabay
So I…
- Went to Pixabay.
- Searched for a desert picture.
- Downloaded it.
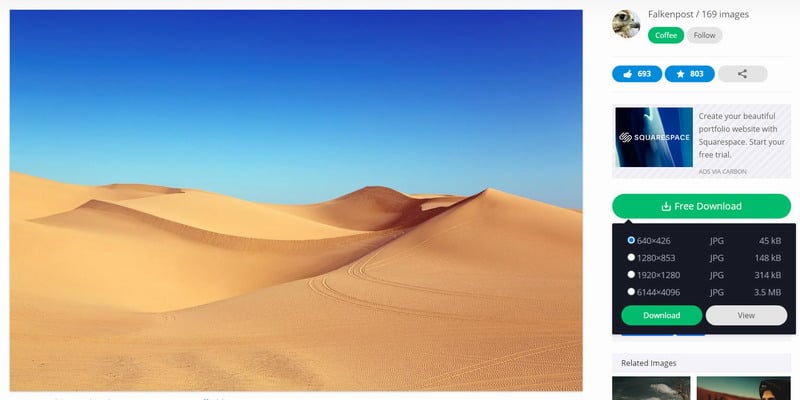
Pixabay free picture download
Then I went back to Canva.
And onto Canva I uploaded both the desert picture and my background-free image.
How?
I clicked Canva’s Uploads icon and then dragged the pictures into Canva using the mouse.
Once uploaded, I clicked onto the desert picture and that set it as the background.
Then I clicked on the picture of me – which placed it on top of this new desert background.
I clicked Download, and there it was on my computer to share with you.

The new picture
Simple Editing and Titling Movies
Once you’ve shot various movie scenes on your smartphone or camera, it’s nice to be able to put them all together into one movie.
And maybe even add a few special photographs into the movie.
And a fancy title would be great, too.
Oh, and what about a few animated sequences between scene changes.
Well, that’s what we covered in the final part of the webinar.
Here’s how to do it:
If you use Windows, in the lower-left corner, you’ll see a search box.
In there, type Movie Maker.
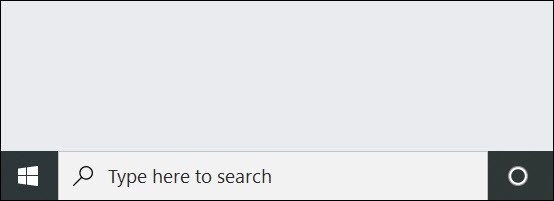
Windows Search
And click on the Movie Maker icon that appears.
Here’s what you’ll see.
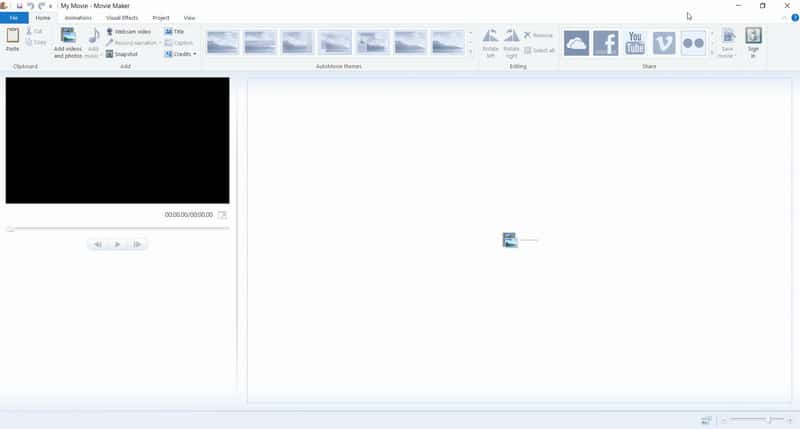
Movie Maker on Windows
It might look complicated.
But it isn’t.
There are just two things you need to know about.
The button to add your Videos and Photos.
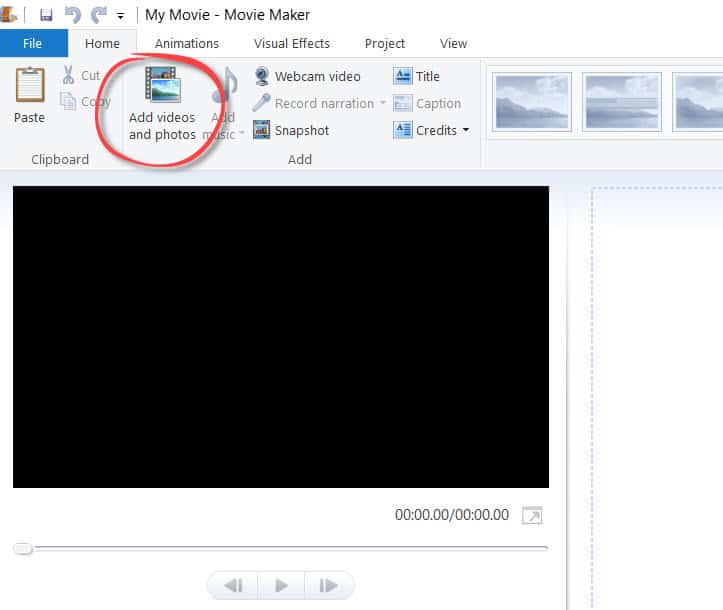
Add Photos and Videos
And the Webcam Video button, so you can record yourself looking and speaking into your webcam.
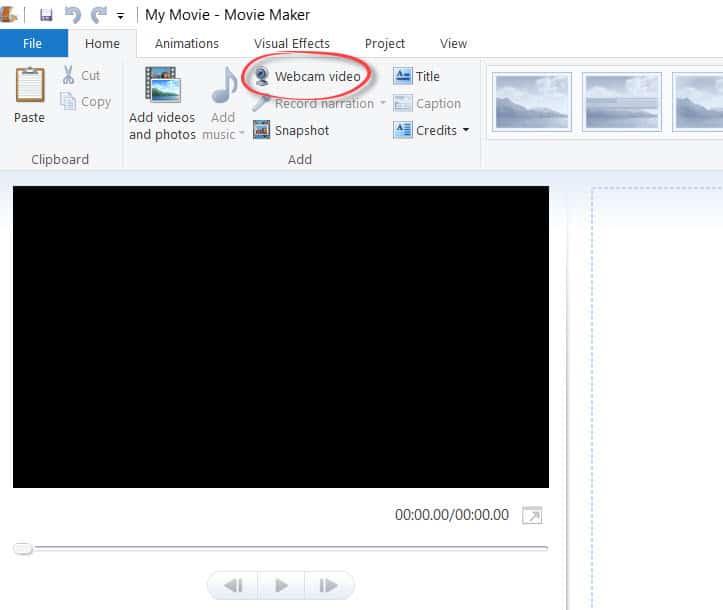
The Webcam Video button
Movie Effects & Animations
To apply the special effects on transitions between scenes, choose the Animations button.
Then pick an effect.
Movie Maker will place that transition-effect at the point in your movie where you last clicked to mark the spot.
Movie Maker Titles
To add a title, click your mouse right at the beginning of the movie (assuming that’s where you want the title to go).
Then click Title.
Yes, it’s that simple.
Rename your title (rather than the bland “My Movie” which Movie Maker will have called it).
Finally, save your movie in a format people can watch, by clicking…
- File
- Save Movie
- For High Definition Display
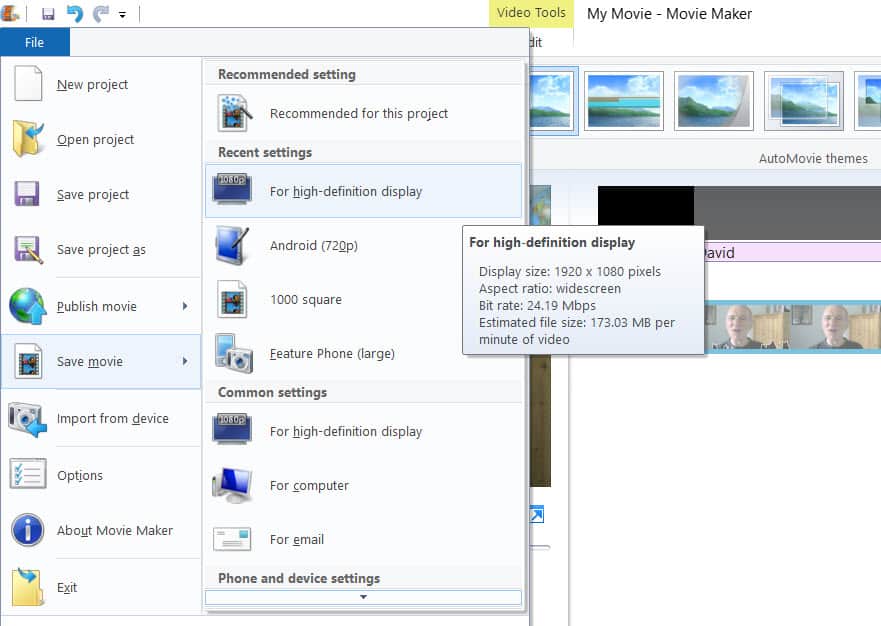
Save your movie
If you want to see how that all works in action, it’s well watching that particular part of the webinar replay where we cover:
- Recording from a webcam
- Uploading your video clips
- Editing video clips to remove unwanted bits
- Adding and re-naming titles
- Applying animated transitions
- Saving and downloading
The Movie Maker part starts at the 20:30 point in the webinar replay.
Apple, Not Windows?
If you have a Mac, don’t worry.
You can find Apple’s equivalent of Movie Maker by searching on your Mac for iMovie.
The Webinar
After all that, can I persuade you that it’s worth watching the video of the actual webinar?
Like every Tech it Easy live-workshop or webinar, it’s all practical.
You can watch me work through each topic, step by step.
Tech it Easy on Facebook
Do you follow Tech it Easy on Facebook?
That’s where I post regular content which makes technology easy to grasp and apply to real life.
It’s here: Tech it Easy on Facebook.
If you have a minute to pop over and check it out, I’d really appreciate a like on the page.
Until the next webinar…
Remember to Tech it Easy!


Great content – easy to follow step by step guide
Thank you, Chevon. Glad you like it. Really appreciate the comment.